
Creating powerful audio plugins
> Screenshots
- Skip Navigation :
- About :
- Modules :
- Screenshots :
- Download :
- Forum :
- Source :
- Support :
Visual tour
Designing the circuit:

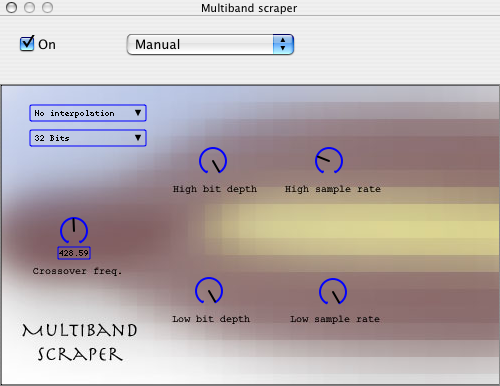
This circuit takes the input signal, as given by the host application. Then it splits it using a crossover element. The low and high frequencies are then independently degraded using scraper elements. These modified signals are then added together and output back to the host.
When you select a particuliar element, informations about it are given in a window. Here are the informations given for the scrap element:
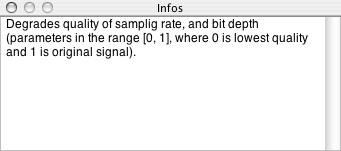
So this basically says that the sr and bd inputs should be feed with values between 0 and 1. That is why knobs were connected to these inputs.
When you select an element, another window shows the settings of that element, if applicable. This is what it looks like for the 'Crossover freq.' knob:
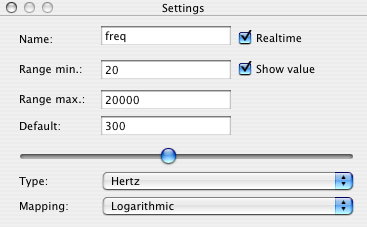
As you can see, many things about a knob can be specified.
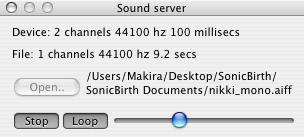
You can test the functionnality of your plugin directly while designing it:
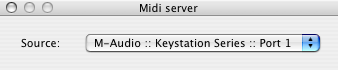
You can also test MIDI functionnality of your plugin from SoncBirth:
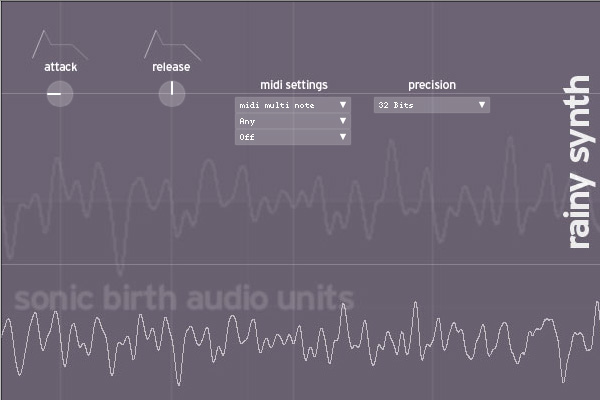
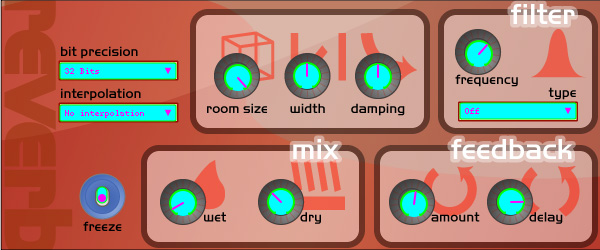
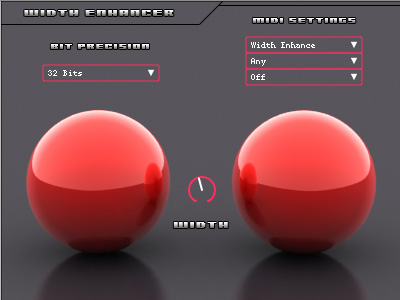
Using SonicBirth, you can also create a custom Gui. Prepare a background image, load it, then place the knobs and other elements:

Here's how it will look in GarageBand:
The same plugin is still completly functionnal when the custom gui checkbox is off:
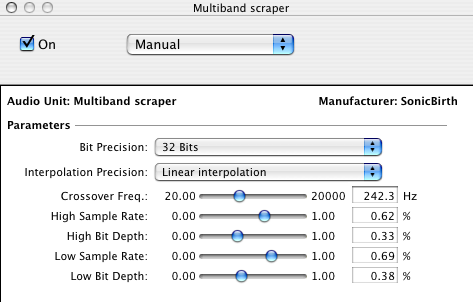
If you prefer to see a multi-band reverb, download SonicBirth and try one right now!
Copyright © 2005-2007, Antoine Missout.